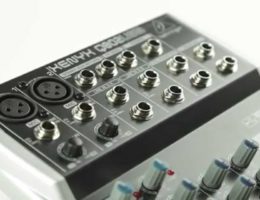
To become a recording artist, you have to record your music. It’s the first step of showing (and marketing) your talent to the world. But you need a studio.
But making a music studio is easier than you think. Chances are you’ve already dragged out your cell phone to lay down a quick track or spout out some lyrics that had been rattling around in your head. Congratulations! The second you hit record, you officially created your first music studio. However, chances are that the sound quality was not radio quality. So, what do you need for a music studio that truly captures the essence of your sound? Read on for a list of everything you need to get started.
In a Hurry? Here is Everything You Need for Your Recording Studio:
- A Computer: I recommend this Amazon Renewed Macbook Pro
- A DAW: I recommend Ableton Live – Download it w/ a 90 Free Trial Here
- Headphones: The OneOdio’s are a great pair for recording and producing
- Microphone: The Audio-Technica AT2020 is a great and affordable option
- Audio Interface: The Focusrite Scarlett 2i2 is great—I use the 18i8
- Cables: This 10 foot XLR cable should be all you need!
- Mic Stand: You’ll most likely need to attach your mic to something
- Pop Filter: Here is a great, yet cheap, option
What Do You Need For a Music Studio?
A recording artist needs a music studio like a carpenter needs a hammer. It’s not enough to learn how to sing or play an instrument. In order to have success in the modern industry, you must familiarize yourself with the recording process. Demo tracks have always been a way to build a fan base and get the attention of studio executives. The better your track sounds, the more likely you are to get some attention. Also, when you get that contract, you don’t want to walk into a professional studio without any comprehension of the recording process.
You should look at learning the basics of audio engineering as a career investment. Very few individuals make money with their musical talents, but there are a lot of people who make a very good living as audio engineers. Creating your first music studio is a way to earn some revenue following your passion.
So, what do you need for a music studio? Here’s a short list that will help you get started:
1. Computer
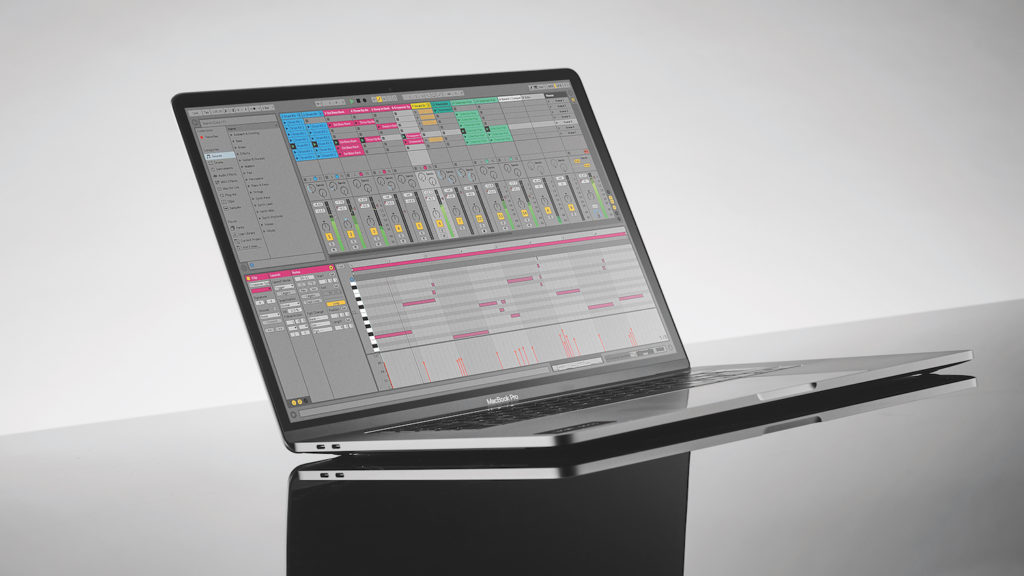
The great thing about computers is that you probably already have one. Computers pretty much run everything these days, and if you don’t have one you probably at least have access to one. If you do some shopping, you can probably find something factory direct for less than the cost of a cell phone.
If you don’t have a computer, then perhaps you’re going to have to give up that cell phone to follow your dreams of being a recording artist. It’s nice to have a computer dedicated to your recording pursuits, but don’t stress about getting a second computer. The purpose here is to get your studio up and running, you can worry about upgrades later.
PC or MAC?
So what kind of computer should you use? Fortunately, you can use both Windows machines and Macs for music production. I’m a fan of the Macbook Pro in a lot of ways, but if you are already using a Windows machine, there’s no need to purchase Apple products, especially if you’re on a budget.
What you do need is a computer that meets basic operational requirements.
Specs
The amount of storage will make it possible for you to save sound files and virtual instruments. I also strongly recommend a Solid State Internal Hard Drive.
The RAM will help you run your software efficiently, and a CPU will make the whole experience faster and smoother. Here are the basic stats that I currently recommend (this may change as technology gets updated, but for now, you should use a computer that hits these goals).
- Storage: Get a computer with 500GB of storage as a bare minimum.
- RAM: Get a machine with 16GB of RAM. A 64-bit system can use up to 16GB.
- CPU: Get a machine with at least 2.9-3.0GHz
You can always add ram and storage—you can’t add to your CPU, so keep that in mind.
External storage is probably the easiest, so if you have to pick and choose, I’d opt for the better RAM and CPU and then add more hard drive storage when I need it. 16GB of RAM is also required if you’re running Pro Tools on Windows, which is one of the more popular DAWs and an industry standard.
Pro tip: Consider getting a computer with a solid state hard drive (or replacing your stock drive with one). I’m not talking about external, I’m talking internal. You want your operating system and your software to be installed on the SSD. This will drastically improve the performance of your computer.
2. DAW
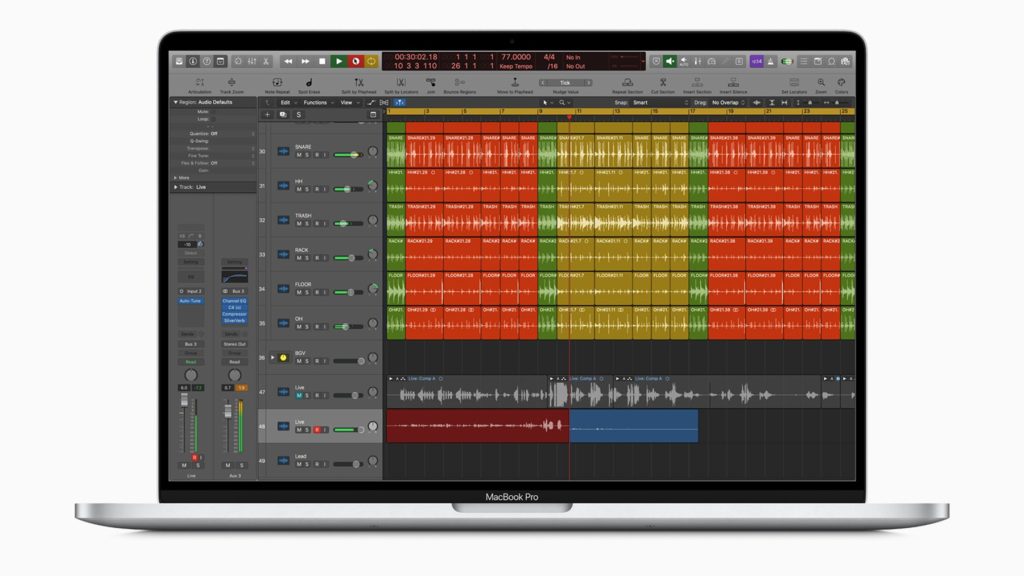
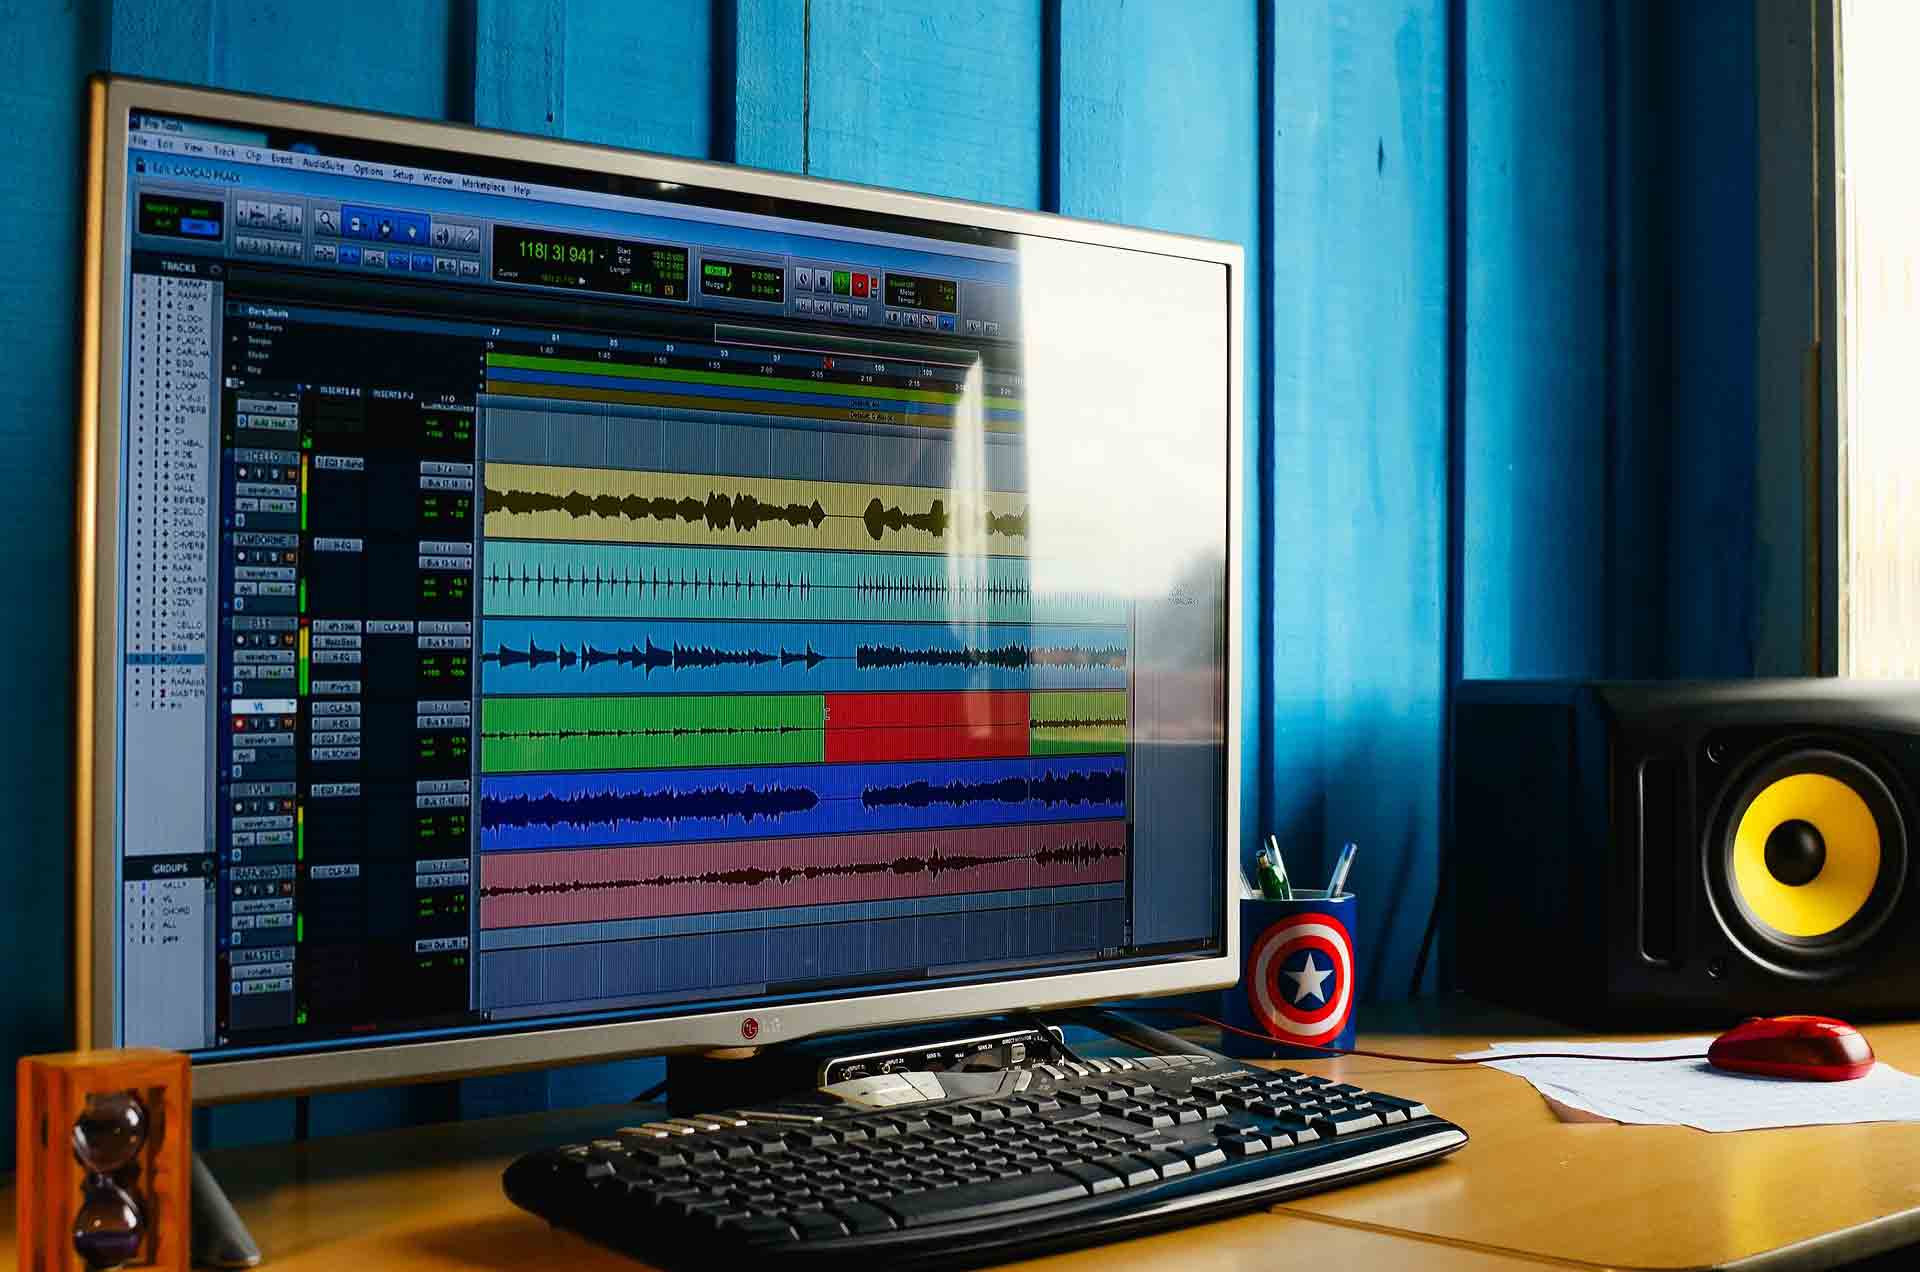
DAW stands for digital audio workstation and it’s the software you’ll be using to record and mix. Learning DAW is like learning to run Photoshop or any other professional program. The better your skill level, the greater your worth to a professional organization that needs your talents. Don’t believe you’ll be able to sit down and be a master the first time you boot up the program. There will be a learning curve that requires almost as much time and dedication as learning your instrument in the first place.
I use Ableton Live, and have for quite a few years. It’s loaded with great stock plugins and effects. Macs also come with Garageband preloaded, which is fine for learning the basics but I would look for something a little more advanced at some point. Whatever you choose, there is no shortage of DAW options.

Other popular DAWs include Cubase, Studio One, Logic Pro X, and FL Studio. All of these are pretty accessible for beginners.
If you don’t already have a DAW picked out, my recommendation would be to watching some YouTube video tutorials and playing with some free trials. If your friends make music, see what DAWs they’re using, and get a chance to play around with them a bit if you can. Or download a demo version, because even a limited version of the software will still give you a pretty good idea of how the DAW “feels” to work with. If it’s really counterintuitive for the way you work, then it’s good to know that before you purchase the full model.
Your DAW is going to either be your best friend or a source of constant frustration. Different producers have strong opinions on their favorites, because the software is about more than just features and plugins. It’s about workflow and familiarity.
My biggest piece of advice: once you pick one, stick with it, and learn it—learn it well. All DAWs ultimately do the same thing.
3. Headphones
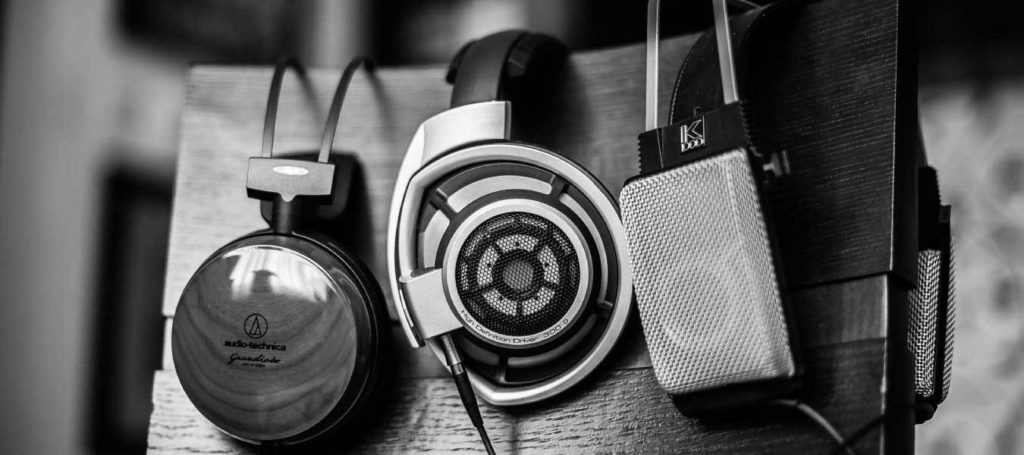
Mixing is usually done on studio monitors—but using headphones is becoming more and more common. Headphones are cheaper than studio monitors, and you can get a decent set for around $100.
The key here is that different headphones are useful for different things. Simply put, the main types of headphones are closed back and open back headphones.
Open Back vs Closed Back
Open back headphones are ideal for mixing and mastering. They deliver the most accurate sound possible. Because they are open to the outside world, they don’t suffer from the sound reverberations that often happen with a closed earpiece. So if you’re editing more, you probably want open back.
Now, what if you’re actively recording?
When it comes to recording equipment, closed back headphones are the way to go. Closed back headphones don’t leak sound like open back headphones do. They produce a slightly less faithful sound, but you don’t want the noise from your headphones making its way onto your recording.
Whether you go with closed back or open back studio headphones, headphones are convenient for mixing because they’re more portable and less expensive.
What About Studio Monitors?
If you’re recording, you’ll always need a pair of headphones (so you can hear the music you’re recording over, at the very least). But, studio monitors are also a great addition to any studio, as it’s not great to mix solely in headphones since they tend to exaggerate the stereo field.
There are some great, inexpensive monitors like the KRK Rokit series, and these can be very useful in making a professional recording. I’d say they’re a useful component of a DIY pro studio setup. But if you can only pick one tool to make your own music, get a solid pair of headphones.
4. Microphones
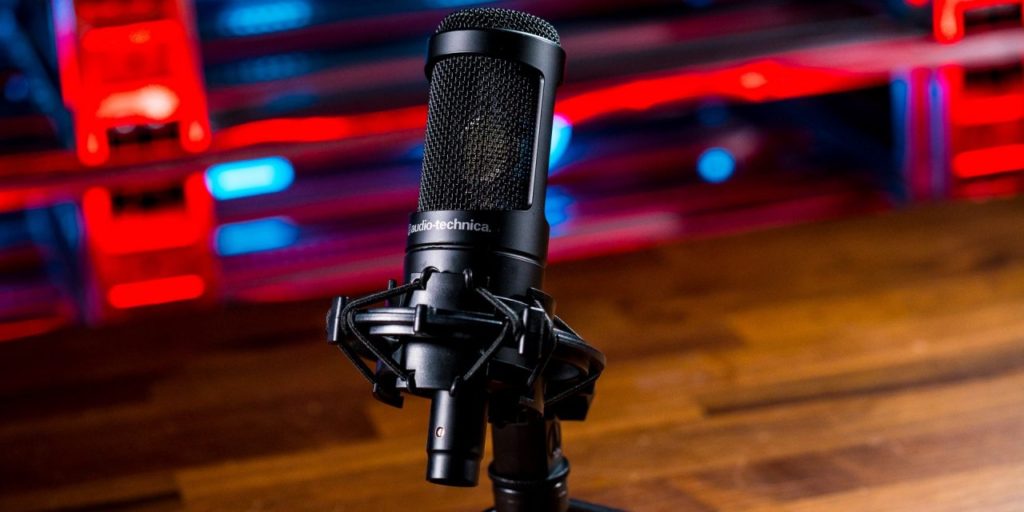
Mics are possibly the most obvious piece of recording studio equipment if you’re a vocal artist. These are the tools you use to record your sound. If you’re solely a vocal artist, you can get away with just one microphone. Modern mics range from $50 to thousands of dollars. And while you often get what you pay for, a super expensive mic is definitely not necessary.
Sometimes microphones even come as apart of an audio interface bundle.
Dynamic vs Condenser Mics
Of course, you’re going to be confronted with the question of what type of microphone to get. The most common types are condenser mics and dynamic mics.
Condenser microphones are ideal for recording vocals. It can pick up high frequencies and also is great at recording acoustic guitar. It also has a very quick frequency response, giving you a sharper contrast between the sounds as it captures them.
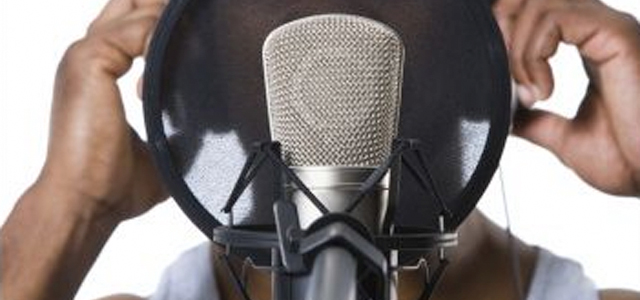
For recording vocals or for many of the most common instrumentals, the condenser mic is the right choice. If you get a condenser mic for your home studio, I recommend getting a pop filter for it. This will eliminate some of the harsh “p” and “es” sounds and improve the sound of your vocals remarkably—and they are not expensive add-ons.
Dynamic mics are usually just a bit less pricey than condenser microphones. Dynamic mics block out a little more of the background noise, so they’re commonly used for live performance. The downside is that dynamic mics are a bit less sensitive––they don’t get the same degree of subtlety that you get with a condenser mic.
If you decide on just getting one mic and you need something you can take with you to a live gig, the Shure sm57 and Shure sm58 are popular choices.
5. Audio Interface

The audio interface is what connects your mics to your computer and DAW so that you can begin recording. When you’re just getting started, you only need a basic audio interface. Get something with about two inputs. More complex audio interfaces have more features than you’ll need at first, and you don’t want to become overwhelmed as you’re learning the basics.
Something like the Presonus Audiobox or Focusrite Scarlett will usually run just around $100. These will make it easier for you to get used to the habit of hooking things up properly. After working with them for a while, you can upgrade to something fancier if you like, but it’s surprising that a lot of times you don’t need the more complicated interfaces at all. It could be years before you ever need to upgrade, and even if you do, you’ll be glad to have a backup in case something goes wrong.
You don’t need to drop multiple hundreds of dollars on your first interface, but you should get one and get comfortable with it. Being completely without an interface is not somewhere you want to be.
6. Cables
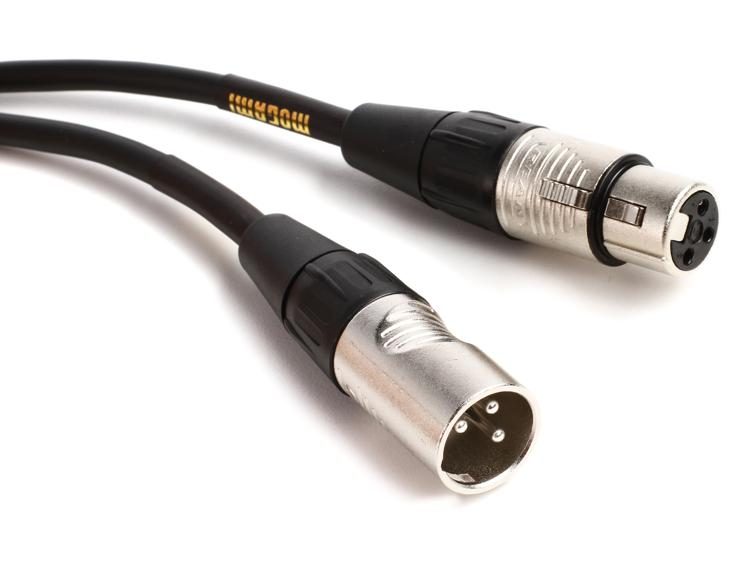
Cables are like smartphone chargers, they start to replicate themselves in your drawers. If you’re new to this, I’d recommend waiting until you’ve purchased everything else before buying cables—just to get a better idea of what you’ll need, and what you won’t.
It can be incredibly frustrating to spend money on a piece of hardware, only to discover that it isn’t actually compatible with your other equipment. Making sure you have the right cables and ports will help make your entire life easier. If you wind up changing one piece of equipment, make sure you can keep it connected and powered (if it needs a power source).
A note about phantom power for your microphone: if you’re using an audio interface with a mic pre-amp (48v phantom power), be sure to get an XLR cable instead of a 1/4″ cable. 1/4″ doesn’t carry phantom power, the XLR does. And if you have a condenser microphone, you will need that power.
Accessories and Optional Items
- Microphone stand
- Pop filter
- MIDI controller / MIDI Keyboard
- Studio Monitors / Speakers
- Studio Monitor Stands / Speaker Stands
The Importance of Buying Smart
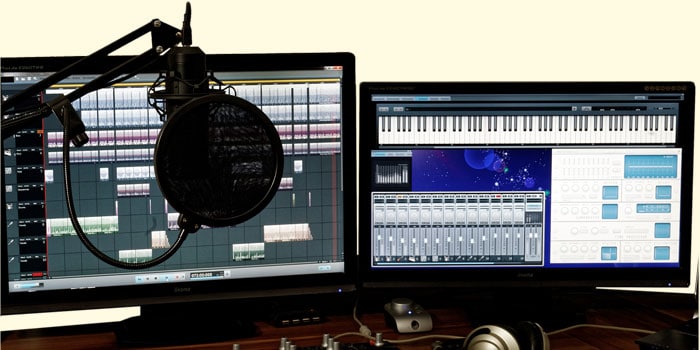
A quick word on why it’s good to focus on the essentials.
If you’re just in the process of creating your home recording studio, you want the basics. Yes, it’s tempting to want to have the best equipment no matter what—and all of it. But, just as a general warning, this mindset can also be a trap. If you think, “oh, I need this one more thing before I can start trying to make music,” you might never get there.
Get what you need, and START! The hard part is making the music, and it will require the most persistence.
It’s possible to spend (tens of) thousands of dollars on sound equipment, but most of us don’t have that option. And fortunately, it’s not required in order to build a good home studio.
Learn One at a Time
Focusing on the basics will also help you learn the tools that you’ll use most. It can be harder to get comfortable with learning how to use twenty different tools at once. But if you’re focusing on the five or six that you will use all the time? These tools will become second nature to you. Then you can easily add more and more.
Advertisers want you to think you need their device or gadget, and without it, you won’t get the right sound or the best music possible. But if you’re on a tight budget, you need to decide where to put your money. That’s why I made this list: it gives you the essentials for getting started. If you’re a vocal artist, these are the necessities.
Will You Need to Replace These Down the Road?
You might, but only after you’ve gotten your money’s worth (and then some!) These are all items that you’ll wind up using a lot. But take care of your equipment, and they’ll probably never give up on you.
One of my favorite things about this list is that you won’t have to get rid of any of these pieces of equipment if you don’t want to. Make sure you get decent build quality for your mics and headphones, but in general, these aren’t low-grade gear that you ditch after a short time, or have to replace with something else because they are low quality.
You may ultimately decide to upgrade, but all of these can be used to create excellent professional recordings, and you can hang onto them for a long run.
What Else Are You Likely to Need Later?
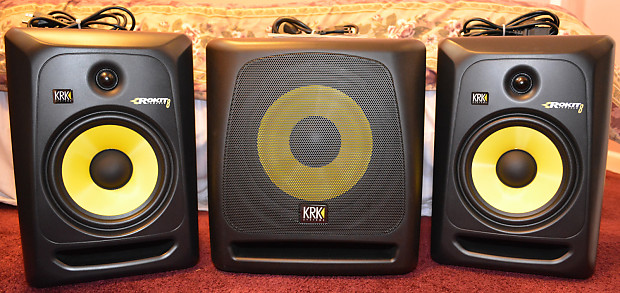
The next pieces of equipment you’d need are likely to run a bit more expensive, but if you can swing it they are worth it. I’d say that a good pair of studio monitors and a subwoofer can really change the way you listen to music. If you have a bit of a budget and are looking to spend a little more, these can take your studio to the next level.
Studio monitors produce an accurate representation of how your mix sounds. They are more natural than most consumer-grade speakers, which change the sound balance for better (yet, less accurate) listening. Normal speakers are great, if what you want to do is kick back and just listen to a song.
But if you really want to listen closely and make changes to a track, with the goal of making your music sound better on all speakers, then studio monitors can be an improvement over just using headphones or relying on the inconsistent sound of a commercial speaker.
The subwoofer will also help with this, because it takes care of the bass and lower frequencies that you might not be able to hear as well. That takes the pressure off the monitors, and allows them to deliver a richer midrange and high range sound.
Of course, this is simply a suggestion of what to do later, once you’ve gotten the essentials down.
Your Music Equipment and You
Whatever you decide to get, it’s important to keep in mind that your studio setup is always a work in progress. Even the most specialized studios in the world are constantly looking for ways to improve what they have; they always want to find some way to be better. So there isn’t such a thing as perfection.
Get the best tools you can, but don’t get too distracted from improving as a musician, for learning constantly, and for having fun. When you’re just starting out, you want to try a lot of different methods before dropping serious cash on something that you might not actually enjoy or find useful.
Still, for the main essentials of at-home music production for a vocal artist, you’re going to need those basics.
- Computer
- DAW
- Headphones
- Microphones (Mics)
- Audio interface
- Cables
Once you get a solid handle on these, you have a complete, operational studio. Everything else is just upgrades.
It’s Time To Record!
What do you need for a music studio? You need the motivation and the will to build one! Don’t be too concerned with making a perfect studio the first time you start. This is a learning process, and in the early stages, the best thing you can do is boot up your DAW and make music regularly.
If you’re in a hurry, check my list with links to the products I recommend!
